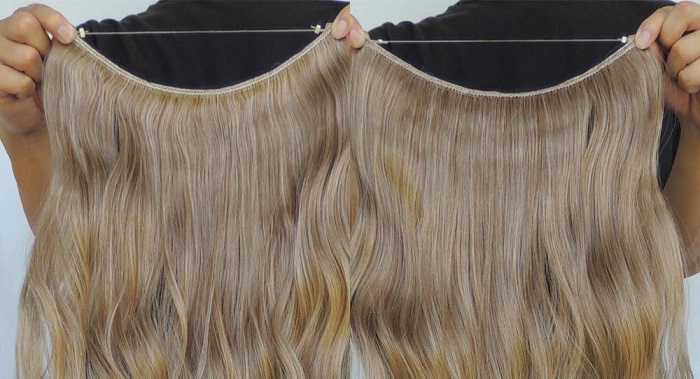
Many women prefer halo extensions when adding length and volume to their natural hair. Usually, every halo comes with a flexible, invisible wire to secure it around the head. This wire is adjustable and customizable to fit any head size.
However, some people complain about their halos slipping back and forth once they wear them. But this problem may only result when the extension is not properly secured.
Most people don’t know that the angle at which you place the halo onto your head is key to making it snug.
Today, we outlined a simple procedure to help you secure halo hair extensions.
Let’s get started!
Step 1: Section Your Hair
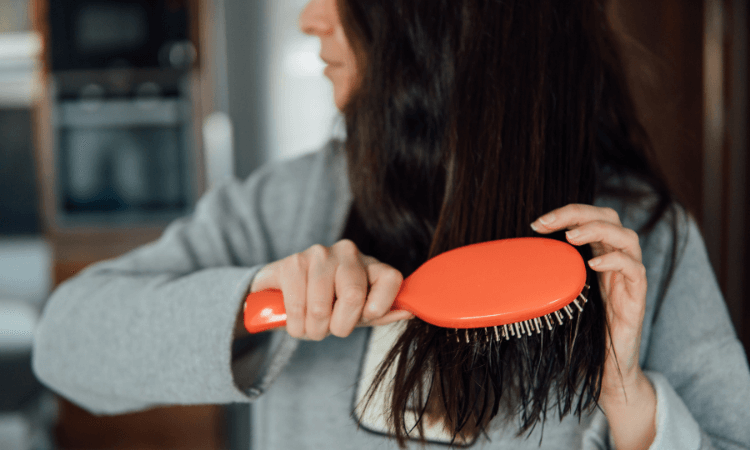
First, comb through your hair to remove any tangles and knots. Then, use a rattail comb to part your hair from the top as you trace along the crown toward the back.
It is best not to pull too much hair when parting the top section, as it can put a lot of tension on the extension. This could in turn create traction on the scalp and cause discomfort.

Also, ensure the front parting is about 1 – 2 inches back from your hairline. This parting is where you will lay the wire when installing the extension. The back parting is for the weft and should lie below the occipital bone.
However, the parting could be high up the occipital bone if you have very thin hair. As long as the hair left out at the crown can blend well with the weft. After sectioning your hair, clip away the hair at the top of your head using a hair clip.
Sep 2: Fit the Wire
Place your thumbs at the corners where the wire attaches to the weft to get a good grip. Ensure not to put your fingers under the extension to have complete control when putting it on.
Then, come around your head and slide the wire along the parting at the front of your head. Focus on fitting it exactly where it should go. To keep it secure, it should lie precisely on the front parting with no hair underneath.

As you fit the wire, ensure its corners, where the wire attaches to the weft, lie about 2 inches above your ears. If you place it far from your hairline, the extension will get loose and slip out.
After that, press the two corners down against your scalp to ensure the wire stays put to keep the extension more secure and prevent it from sliding back and forth.
Note: People’s head sizes differ, so it is crucial to get a halo with the correct wire size. You can also customize the wire to your head size to make it fit perfectly.
Step 3: Align the Weft
Once the wire secures nicely along the front parting, slide the weft down and align it at the back of your head.
As you align the weft, see that the parting at the back lies slightly above it. Placing the weft this way will ensure your hair does not bunch up underneath.
The weft should fit snugly; not too tight or loose at the back. If unsure, shake your head to feel the movement and make further adjustments if necessary.
You do not want to feel any tugging on your natural hair, as this may cause tension and even breakage.
Step 4: Comb Out
Take down the top section and let the hair fall freely over the wire and weft. Then, use a rattail comb to pull your natural hair lagging under the invisible wire.
When combing out the hair, ensure you are pulling them toward the side rather than upward. If you pull upward, the halo might start lifting and get loose afterward.
After combing your hair out, you might notice that the wire is still visible. In this case, you should conceal it without agitating the extension and making it looser.

To do this, comb the hair horizontally along the wire toward the side. Do not comb diagonally, back, or forward to avoid moving the invisible wire.
Also, as you comb, go all the way to the corners, ensuring you leave no hair lying under or tied up around the knotting. This will help hide the wire and anchor it along the parting so it doesn’t slip out.
Step 5: Blend Your Hair
Once you properly secure the halo hair extension, brush through your hair gently using a paddle brush for a perfect blend. Be careful not to grab the halo wire or accidentally move the weft out of place when combing.
However, your extension may move around within the first few hours of wearing it, and you may feel quite insecure. But this is only because everybody’s head shape is different, and your halo is adjusting itself for a more comfortable fit.
Once it molds to the shape of your head, there won’t be any movements, and it will feel a lot more secure.
FAQs About Securing Halo Hair Extensions
How Do You Tighten Halo Hair Extensions?
Halo hair extensions have an invisible wire that secures firmly into your hair to keep the hairpiece in place. The wire attaches to both sides of the weft and is flexible to assume the shape of your head. You don’t have to worry about the extension falling off.
However, in some cases, the wire might be too long or small to fit your head shape. But you can adjust the wire to make it feel more secure and comfortable. All you have to do is twitch the microbead and pull the wire gently in or out until it fits properly against your head.
Do Halo Hair Extensions Fall Out Easily?
Halo hair extensions do not slip off your head easily due to their invisible wire designed to perfectly fit anyone’s head shape. However, you have to secure the extension at the correct angle when installing them into your hair.
Usually, the extension should wrap around the occipital bone. This area is wedge-like and can hold the extension in place for an extended period. After installation, the weight of your hair lying over the extension will also help keep it in place.
Final Thoughts
Now you know how to secure halo hair extensions to make them more comfortable on your head. Moreover, consider getting the best halo hair extensions if you want to try one.


