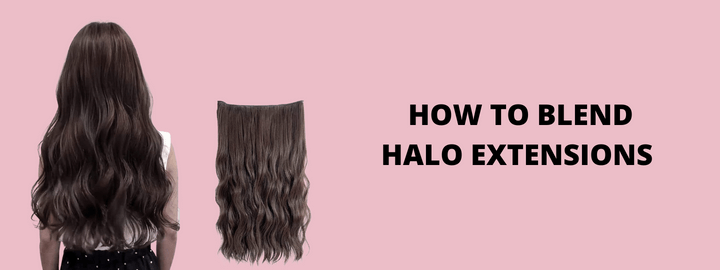
Halo extensions offer a perfect solution to add length and volume for people with thin hair.
But wearing them does not only include getting the length and color right. You should also know how to blend the extension seamlessly to achieve a more natural look. This way, it is not so obvious where your natural hair ends and the extension starts.
However, blending halo extensions can be challenging, and people often look for the correct way to do it.
Below, we outlined a simple step-by-step guide to help you blend halo extensions.
Let’s begin!
Step 1: Set Your Hair
Part your hair at the crown from ear to ear into half up, half down sections. The sectioning at the back of your head can lie around the occipital bone, depending on how much hair you want to leave out.
Then, gather the hair on the upper section and clip it at the top using a rubber band. For the lower section, place it into a small bun and secure it using bobby pins. Also, you can create two small buns or braid the hair if you have a lot of hair.
Usually, hiding a section of hair underneath will help the rest blend effortlessly with the halo extension. This tip could be very helpful for those with short blunt hair.
After securing the bottom section, loosen the hair at the crown and put in the halo extension as usual.
Sep 2: Apply the Extension
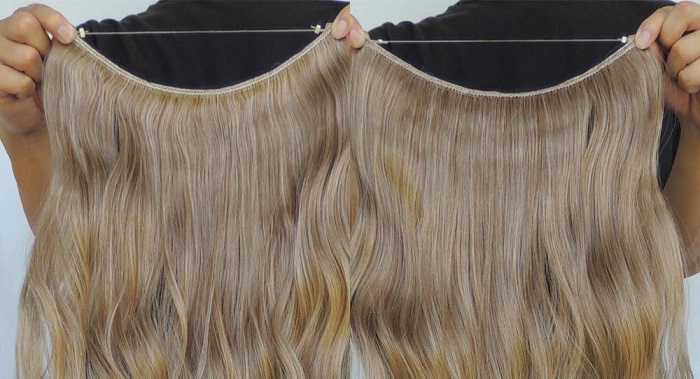
Place your thumbs on either side of the weft, go around the back of your head, and install the extension. Then use your index fingers to slide the invisible wire toward the front of your head. Ensure the wire lies about 1 – 3 inches behind your hairline.
After that, adjust the extension around your head until it feels comfortable. Now take a rattail comb and use the tail end to pull your natural hair all around the weft and invisible wire. Then comb through the hair until it is all nice and smooth.
Note: Do not pull out too much hair if they are very short. Most of it should stay underneath the extension; otherwise, it will look like a mullet.
Step 3: Blend the Extension
Next, grab your curling iron and set its temperature to a recommended level. It is better if the temperature lies below 360˚ Fahrenheit to avoid heat damage.
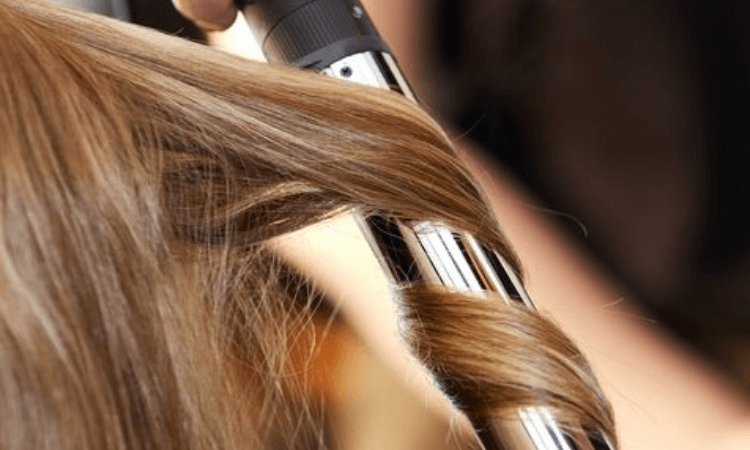
Now section your hair, about one or two inches, depending on the size of the curls you want to achieve. Ensure you are grabbing both your natural hair and the hair from the extension.
Then, wrap the hair around the curling wand and roll it up toward the roots of the weft. Hold the hair for a few seconds and then release it.
Repeat this step until you are done curling all the hair. If some hair needs re-curling, you can do so to ensure a perfect blend.
Note: Ensure the extension can withstand heat to avoid burning its fibers. Also, you can spritz each section with a thermal spray and leave-in conditioner before curling to protect the hair from heat damage.

Step 4: Comb the Hair
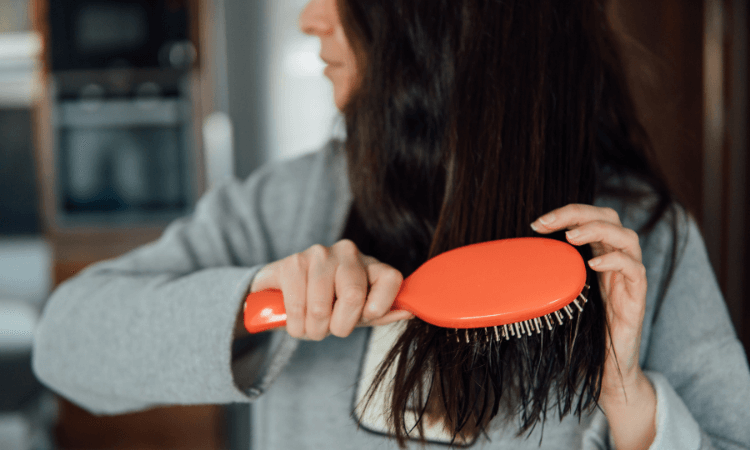
After curling, gently brush through using a paddle brush to further blend your natural hair with the halo extension. However, if you have long natural hair, only finger comb through the hair if it requires further blending.
Furthermore, you can also use a wide tooth comb to separate the curls to keep your hair luscious and bouncy.
Step 5: Assess Your Hair
Assess your hair and see if any sections are noticeably sticking out. For short hair, you will most likely find strands around your face or near the ears.
If you spot any obvious natural hair, get a small bobby pin and tack that piece to the nape of your neck. Also, tease the hair around this area to give it more texture and volume for a beautiful, natural finish.
FAQs About How to Blend Halo Extensions
Can You See Halo Hair Extensions?
If you blend your hair over the weft correctly, no one will notice you are wearing a halo extension. Actually, almost all hair types will blend well with these extensions unless you have short blunt hair. But even with short blunt hair, you can still disguise your hair by using the correct procedure.
The best way to make halo extensions virtually invisible in short hair is by curling your hair to add more texture. Curling will ensure the short layers are not sticking out to make the hair look as natural as possible.
How Do You Thin Out Halo Hair Extensions?
First, put in your halo extension and comb through the hair to keep it smooth and tangle-free. Then, section about ¼ inch of hair using a rattail comb and run a comb along the length of the hair towards the tips. Do this until you reach the point where your natural hair ends; this is where you will begin to thin out.
Go in with thinning shears, ensuring the comb side is on the lower side of the hair layer, and the blade side is on the top. Cut the hair and slide the shear toward the tip of the hair. Move to the next section and repeat the same procedure throughout the entire hair.
Are Halo Extensions Good for Thin Hair?
Generally, halo hair extensions are good for thin hair as they add length and volume to your natural hair without tugging or causing damage.
Unlike other extensions, they are not applied directly to your hair and don’t require clips, glue, or tapes. Instead, they have a thin, clear wire to hold the weft snug on the head. Moreover, the weight of the extension is distributed evenly across the crown of your head so that you won’t feel any discomfort.
Final Thoughts
Now you know how to blend halo extensions to make it look as natural as possible. Consider getting the best halo hair extensions for thin hair if you want to try one.


