Enjoying the length and luxurious style brought to you by hair extensions is one thing. But how to wash hair extensions is another thing taken lightly yet equally important.
Your hair extensions must always be kept clean and well-maintained at all costs. And this might not be clear, especially to ladies wearing extensions for the first time.
But you don’t have to be clueless anymore as this post clarifies how to wash the hair extensions.
As an extensions specialist, I’m here to help you, as a beginner, to learn the correct way to do it.
Let’s get right in.
Step 1: Gather It Together
The first and most crucial step is to collect the hair extensions and set them in place. That’s precisely the clip-ins, halo hair extensions, or the other extensions needing cleaning before installation.
It’s much easier to wash the clip-ins and halo extensions when they’re not in your hair. And it shouldn’t be hard to get them together because removing them is simple and quick.
Additionally, the clips and the halo fish line are not rust-proof and could be damaged by water while in your hair.
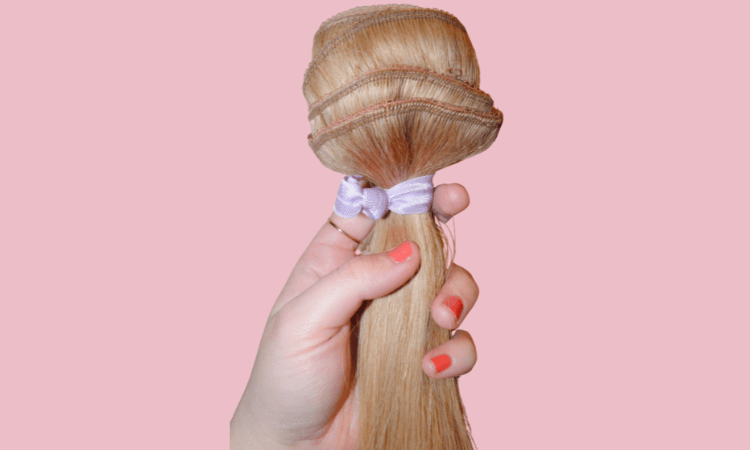
For the clip-in extensions, place the wefts on top of each other. This aids in preventing the hair from tangling with the clips when washing the extensions.
And tie them together with a bobble close to the clips for ease of washing.
Step 2: Detangle It
Brushing the hair extensions before washing helps reduce the tangles and knots that form up during washing. If you wash tangled hair, you’ll create bigger clumps of tangles.
Take your wide-tooth comb or hairbrush specifically for hair extensions, and run it gently through the hair strands.
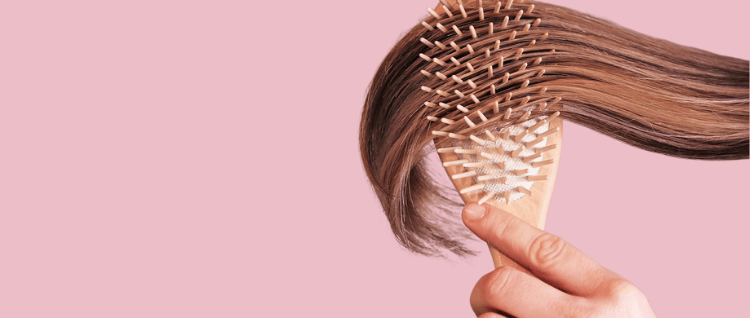
As you brush, you should start detangling the hair ends as you work up to the hair base. Go section by section to be thorough enough and avoid pulling the hair if there are tough tangles.
If the tangles are too tough, wet that hair section of tangles and pre-condition to help detangle.
Step 3: Wet It
The next thing to do is wet your hair extensions entirely with clean, warm water before shampooing. Avoid boiling water by all means as it damages hair extensions.
And get to know that too cold water is ineffective as excessively hot water since it does not clear the buildup, oils, and dirt.
Confidently walk into the shower if your head wears the permanent extensions. You can opt for the bathroom sink instead.
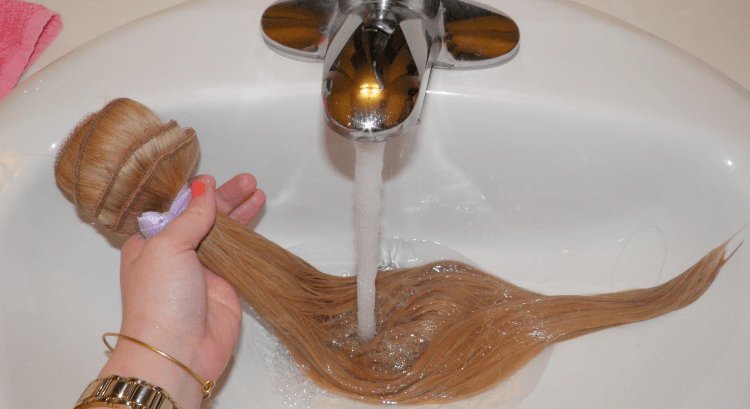
As you wet the extensions, run your fingers through the hair to ensure all the hair is wet and untangled.
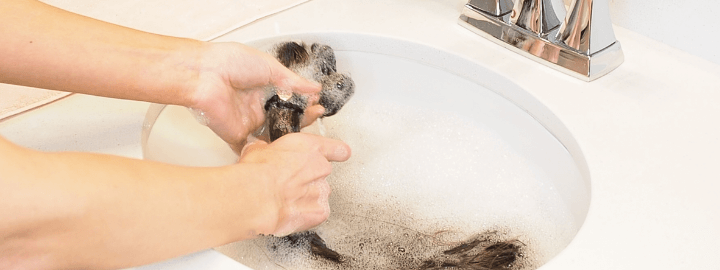
As for the temporary extensions, like the clip-ins, set up warm water in the sink or basin.
After that, submerge the hair wefts in the water with the clips held in your hands. If the water gets in contact with the clips, it will damage them.
Step 4: Shampoo It
Now start shampooing your hair with the hair extensions, as you would with your natural hair. Use two or three pumps of shampoo.
Starting with the first pump, apply it to the top of the hair. And using your fingers, massage the shampoo into your hair and scalp slowly. Add the other pumps as you move down to the bottom until the entire hair lathers well.
From there, scrub the scalp gently and not aggressively, and neither in circular motions. Work along the hair partings you make when sectioning the hair. Then rinse out the shampoo after roughly 5 minutes.
Tips: Use a shampoo free of sulfates, parabens, silicones, and oil extracts. Sulphates dry your hair while the other toxic ingredients interfere with the longevity of the bonds of the extensions. And if your hair is dyed or bleached, use a shampoo designed for such hair. [1]
Step 5: Deep Condition
Moisturizing the hair extensions works to extend their lifespan. This is where deep-conditioning comes in.
Take a generous amount of the hair mask and work it into your hair with the extensions from the bottom to the mid-shaft level.
Distribute the hair mask evenly with your fingers to penetrate all hair strands. The same applies to temporary hair extensions.
Lastly, coil the hair lightly and put it in a shower cap for 5 to 10 minutes to allow the hair mask to moisturize optimally.
However, the longer you let the hair mask stay in your hair, the more nourishment your hair receives. If possible, deep condition for 1 hour or overnight.
Step 6: Rinse Thoroughly
After the deep-conditioning process, wash out all the hair masks with warm water. Here is where you’re required to take your time. If you feel hair strands are slippery, the product is still in the hair and needs rinsing again.
As a general rule, rinse thoroughly until the hair no longer feels slippery and soft. This is to avoid product residue in your hair.
In the last 10 seconds of rinsing, use cold water to seal in the moisture in the hair cuticles and for the hair to shine.
Step 7: Air Dry
The secret to making the hair extensions dry faster is first wringing out the excess dripping water and patting dry with a towel.
Remember that you do not rub the extensions with the towel as they’ll tangle up easily.
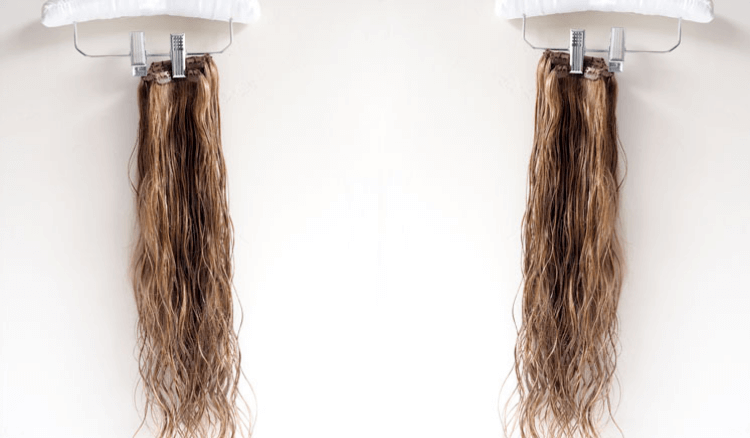
When the excess water is out, leave the extensions to air dry if there’s time to do so. Use the cloth pegs to hang the clip-in wefts on a hanger.
If you’re in a hurry to go somewhere, you will have to go the blow-drying way to quicken the drying process. Ensure you apply a heat protection spray beforehand if you blow-dry on the hot setting.
But the safest thing is to set the blow-dryer to dry on either a cool or medium setting. As you blow-dry, start at the hair roots as you move down towards the hair ends.
Step 8: Apply Oil
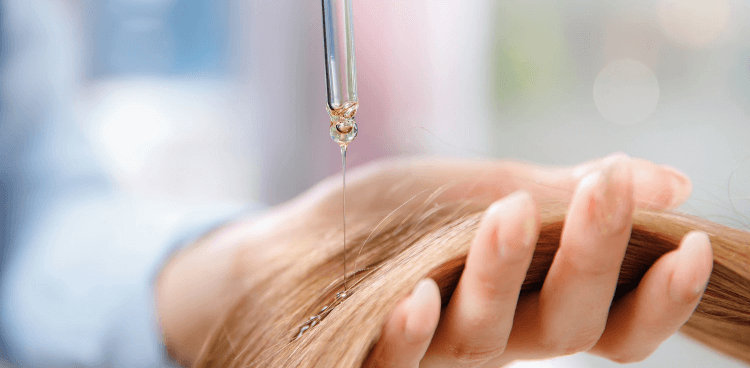
After you’ve confirmed the hair and the scalp are moisture-free, oil the scalp sparingly and the hair from mid to the ends. To be more specific, use hair serums like argan oil or coconut oil to add nutrients to the hair.
They revive the shine and silky soft nature of your hair extensions. Besides that, you prevent frizz and extreme dryness that may make the hair fragile and dull-looking.
Step 9: Detangle Again
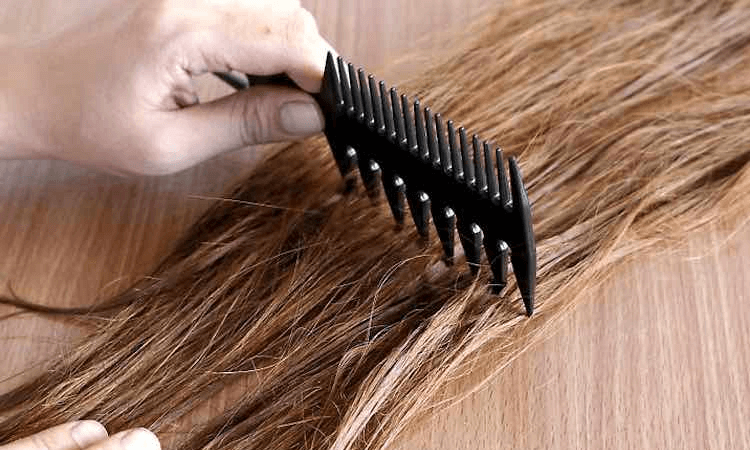
Brush your hair extensions again the way you brushed them before washing. Remember to use the right brush or comb. You can decide to style your hair with curls or perms after brushing for a more enhanced appearance.
When it comes to the clip-in extensions, brush each weft in gentle strokes from the ends to the top. The aim is to detangle once more.
Step 10: Storage
If you’re not installing the clip-in extensions after revamping them, you’ll have to store them until the subsequent use. That’s to maintain their restored luster and shine. So, keep them stored in a dry place in a box or an air-tight bag.
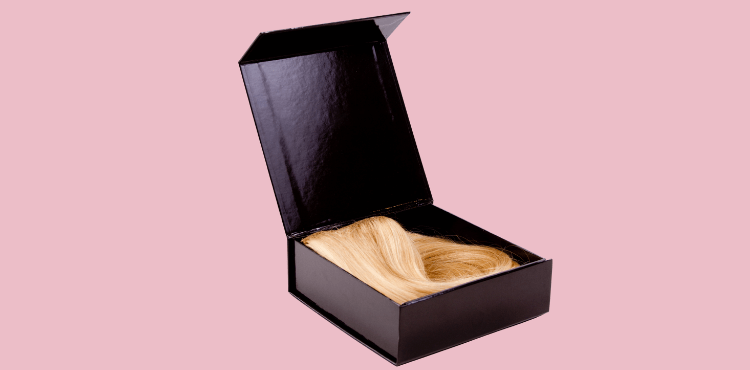
Seeking to understand how to wash hair extensions better, visit this article.
FAQs about Washing Hair Extensions
Can you wash hair extensions with normal shampoo?
Yes, you can, as long as it’s the sulfate-free kind. It doesn’t matter whether sulfate-free shampoo fails in lathering well. The major concern is that the shampoo maintains your hair extensions’ good health and lifespan.
Should you wash your hair extensions when you first get them?
Definitely, yes. You cannot tell which conditions the hair extensions were handled before they got to you. The hair you bought looks new, but that doesn’t mean they’re utterly safe and clean for your actual hair and scalp. And sometimes, you might receive hair extensions having a weird smell.
So, it’s better to be on the safe side by washing them before installing. Avoid the risks associated with the purchased hair extensions for you to wear ultimately healthy hair.
Is dry shampoo good for hair extensions?
Dry shampoo is good for hair extensions if used once and not so often. It does not contain any harmful ingredients, but it does not clean your hair and scalp thoroughly. [2]
Plus, it drys your hair extensions since it sucks away moisture. Therefore, try to use it interchangeably with other cleansing shampoos.
You’ll find that it leaves grime, sweat, and any dirt behind. In fact, it contributes to the buildup of hair products on the scalp. This is something to be scared of as you’ll be prone to a flaky scalp and itchiness. We both know these side effects are unhealthy and may suffocate your hair growth.
Does washing your hair extensions ruin them?
If you wash your hair more than three times a week, you’re overdoing it and ruining your hair extensions. Over-washing takes away all the moisture from the hair, leaving it overly dry and brittle.
And washing your extensions less than 2-3 times weekly is not a good practice either. Your hair will look dull and old quickly, or worse, start emitting a bad odor.
How often do you need to wash hair extensions?
If you wear clip-in or halo extensions, you do not need to wash them regularly like other hair extensions. We recommend rinsing them after putting them on 15-20 times or 1-2 per month. But it’s okay to wash them immediately if you notice they’re too oily and dirty. As for the permanent extensions, work to see that you wash them twice or thrice a week.
And remember, you should not wash these extensions, like tape-ins, within 48 hours after an installation. You do not want to interfere with the bonds as they’ll not have sealed to the hair thoroughly.


